Mic Placement Tips for Better Podcast Sound:
Even the best microphone won’t automatically make your podcast sound professional. How you position your mic plays a huge role in clarity, warmth, and overall audio quality. Correct mic placement reduces background noise, minimizes plosives, and ensures your voice is captured naturally. Whether you record solo or with multiple hosts, mastering mic placement is key to producing consistently clean and engaging sound.
1. Understand Your Microphone Type
Before positioning your microphone, you need to understand its pickup pattern:
-
Dynamic microphones: Typically cardioid, they pick up sound from the front and reject noise from the sides and back. Ideal for untreated rooms. Examples: Shure SM7B, Audio-Technica AT2040, Shure MV7.
-
Condenser microphones: More sensitive and pick up subtle details, including room reflections. Best used in acoustically treated spaces. Examples: Audio-Technica AT2035, AKG P420.
-
USB microphones: Convenient and often plug-and-play, but placement is still critical for avoiding plosives and echo. Examples: Blue Yeti, Shure MV7 in USB mode.
Knowing your mic type helps you determine how far and at what angle to place it.
2. Maintain Proper Distance
Mic distance affects volume, clarity, and tone.
General guidelines:
-
Dynamic mics: 6–12 inches from your mouth. Closer for warmth, slightly farther for reduced plosives.
-
Condenser mics: 4–8 inches from your mouth to capture detail without picking up too much room noise.
Tip: Use a pop filter or windscreen to allow closer placement without excessive plosive sounds.
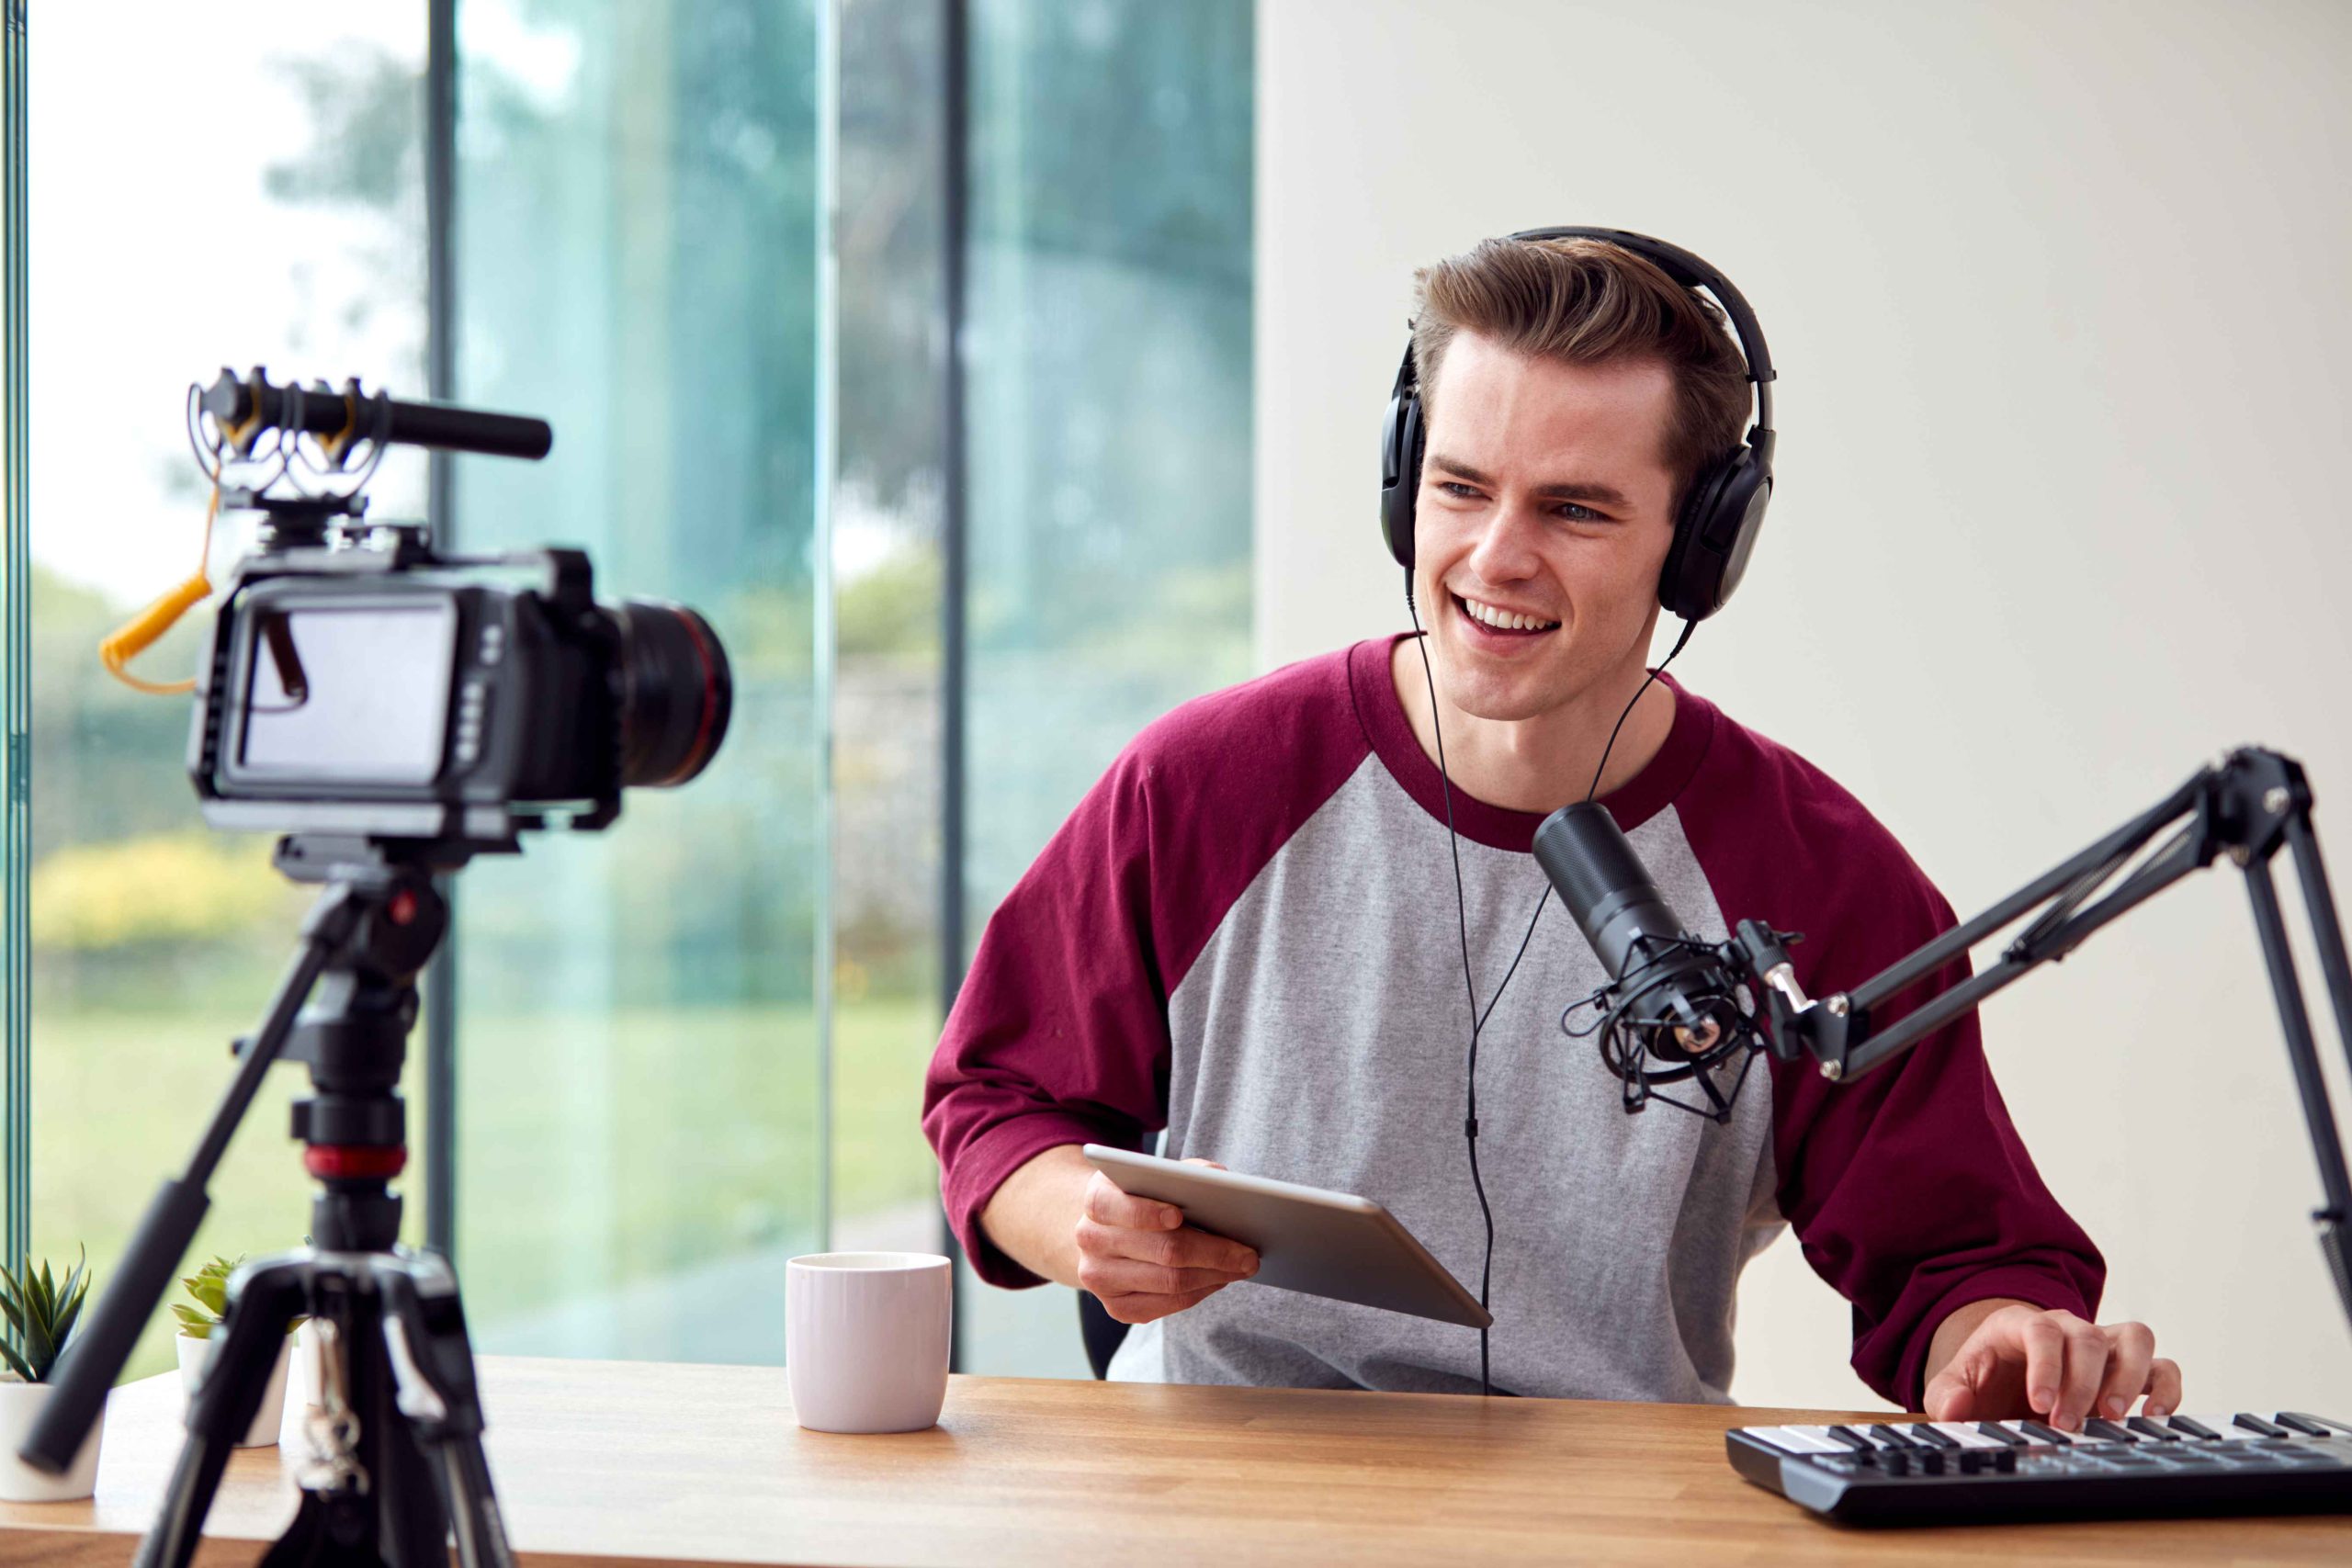
3. Angle Your Microphone Correctly
The way you angle your mic affects tone and plosive control:
-
Slightly off-axis placement (angled 10–20 degrees from your mouth) reduces plosives while maintaining clarity.
-
Avoid speaking directly into the mic if your voice is naturally plosive-heavy.
-
Experiment with small adjustments to find the “sweet spot” where your voice sounds warm and clear.
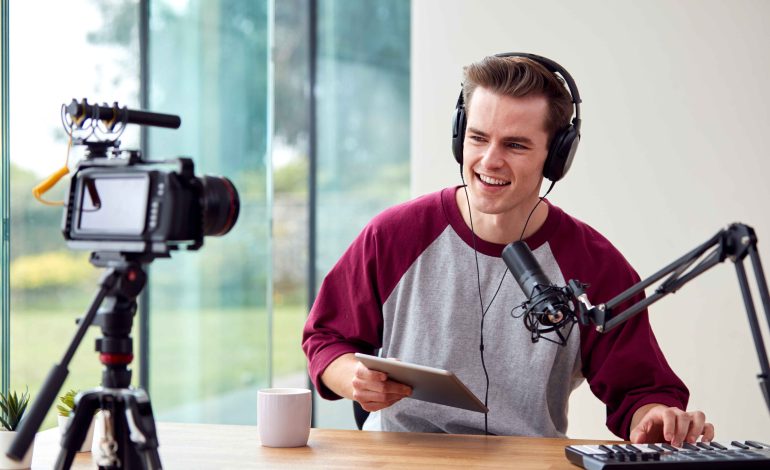
4. Use a Boom Arm or Shock Mount
Mounting your microphone properly improves consistency:
-
Boom arms allow flexible positioning and keep the mic at the correct distance without straining your posture.
-
Shock mounts isolate the mic from desk vibrations, taps, or handling noise.
These tools help maintain a stable mic position during long recording sessions, ensuring consistent audio quality.
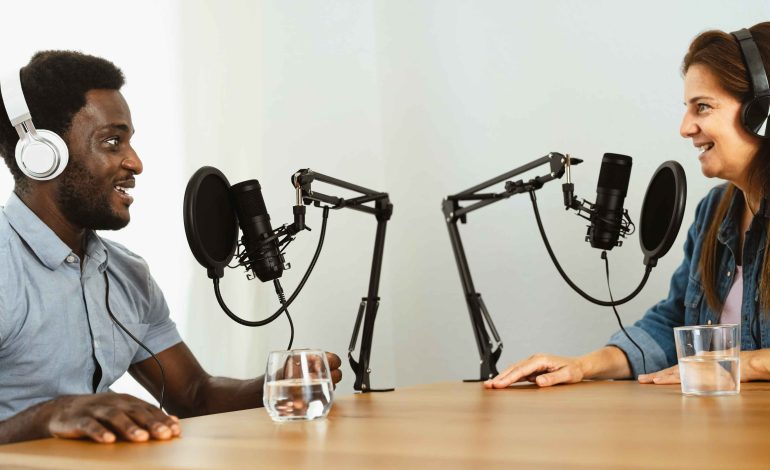
5. Position for Multiple Speakers
If you’re recording co-hosts or guests, mic placement requires more attention:
-
Each speaker should have their own mic whenever possible.
-
Maintain 6–12 inches distance per mic from each mouth.
-
Angle mics slightly away from each other to reduce bleed between tracks.
-
If sharing a mic, speak across the side of the mic rather than directly at it.
Tip: Dynamic mics are particularly effective for multi-host setups because they reject off-axis sound.
6. Consider Room Acoustics
Your mic placement should account for room reflections and background noise:
-
Avoid positioning mics near walls, windows, or reflective surfaces that cause echo.
-
Place the mic in a location that reduces noise from fans, HVAC, or electronics.
-
For untreated rooms, keep a closer distance to dynamic mics to minimize room capture.
Even small adjustments in placement can dramatically reduce unwanted room tone.
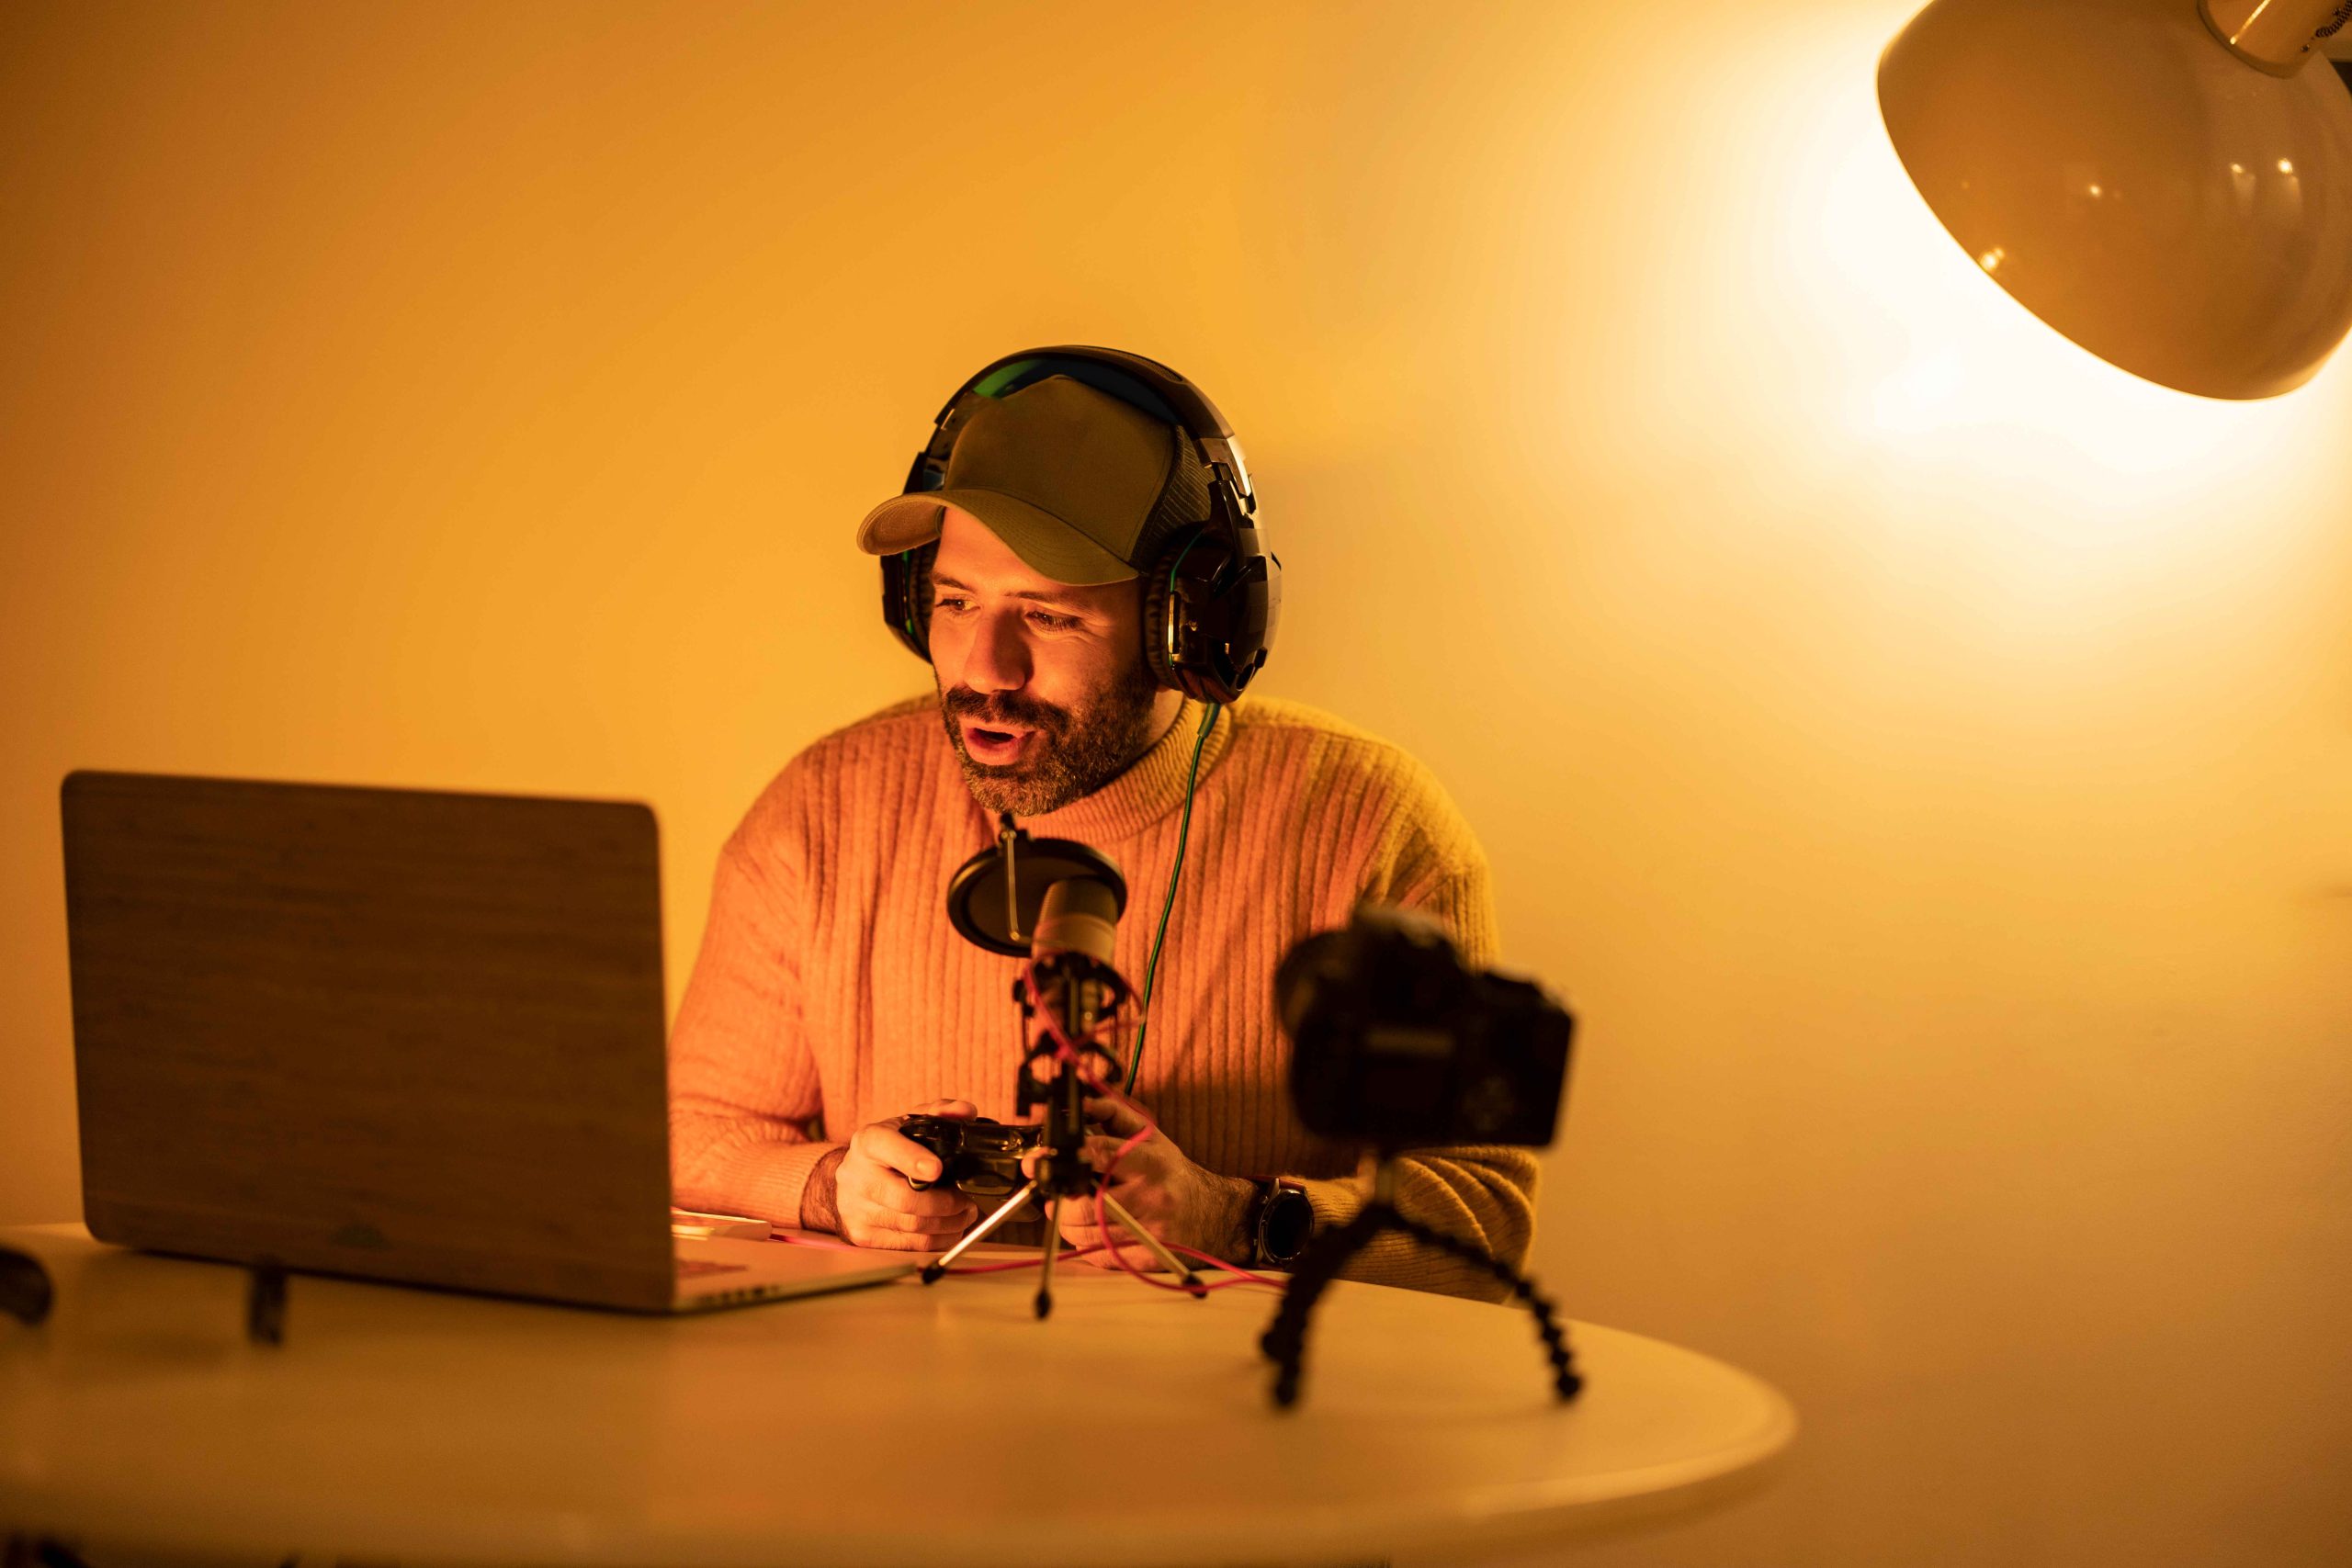
7. Monitor While Recording
The best way to ensure your mic placement is effective is to monitor your audio in real-time:
-
Use closed-back headphones to hear exactly what your mic captures.
-
Test different distances and angles, recording short clips to find the best tone.
-
Adjust mic gain on your interface or mixer to prevent clipping or low levels.
Tip: Record a short test session at the start of each recording to confirm placement before the main episode.
8. Maintain Consistency
Once you find the ideal mic placement, keep it consistent:
-
Mark the position of your boom arm or mic stand.
-
Maintain the same distance and angle for future sessions.
-
Consistent placement ensures episodes sound uniform, which is crucial for listener experience.
Conclusion
Proper mic placement is one of the simplest ways to improve podcast audio without buying new equipment. By considering microphone type, distance, angle, and room acoustics, you can capture a clean, natural, and professional voice every time. Using accessories like boom arms, shock mounts, and pop filters further enhances your sound and reduces unwanted noise.
Whether you’re recording solo, with co-hosts, or featuring guests, mastering mic placement ensures your podcast consistently delivers high-quality audio that engages and retains listeners.