How to Get Clean Audio Every Time You Record:
Audio quality can make or break a podcast. Even the most engaging content will lose listeners if your recordings are muffled, echoey, or full of background noise. Clean, professional audio not only improves listener experience but also enhances your credibility as a creator. Fortunately, with the right techniques, equipment, and preparation, you can consistently achieve high-quality recordings.
Here’s a comprehensive guide on how to get clean audio every time you record.
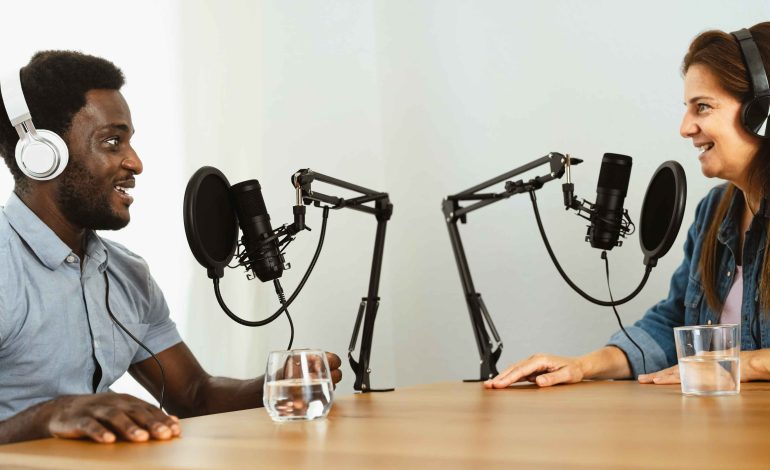
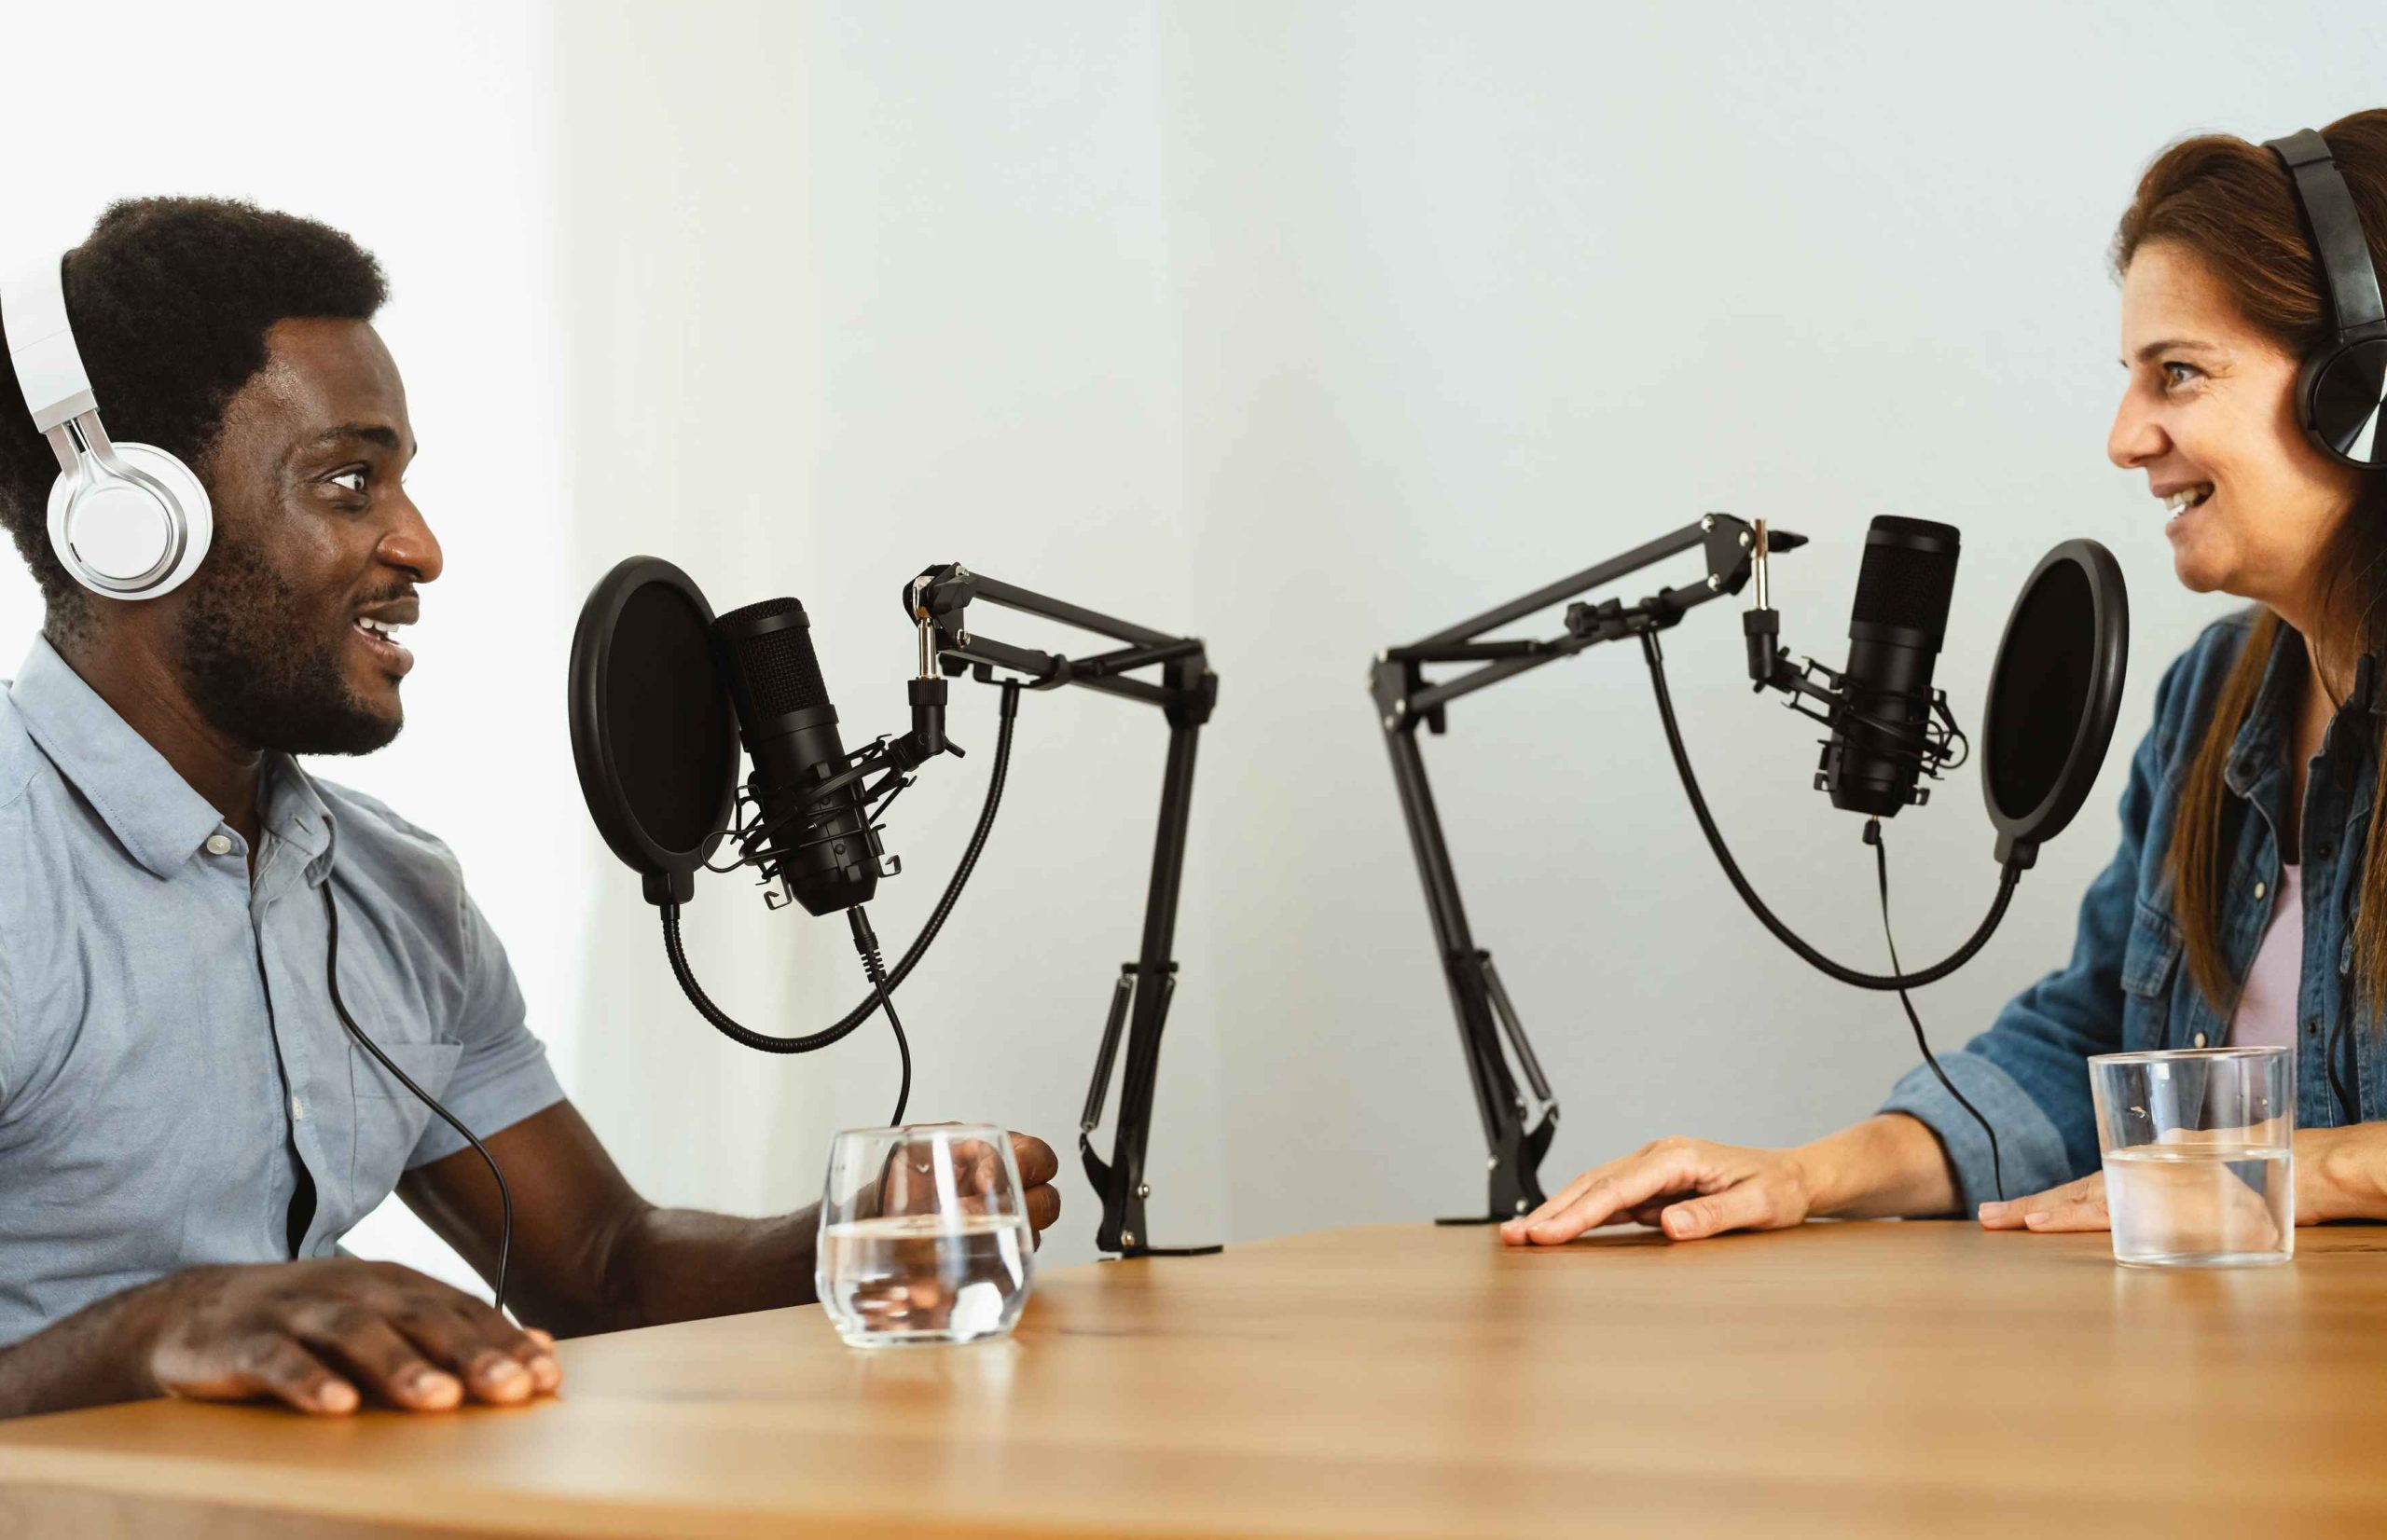
1. Choose the Right Microphone
Your microphone is the first and most critical factor in clean audio. Investing in a good-quality mic ensures your voice is captured clearly and accurately.
Options:
-
Dynamic microphones: Excellent for home studios and untreated spaces because they reject background noise. Examples: Shure SM7B, Audio-Technica AT2040, Shure MV7.
-
Condenser microphones: Capture more detail but are sensitive to room acoustics. Examples: Audio-Technica AT2035, AKG P420, Neumann U87 Ai.
-
USB microphones: Convenient for beginners, offering decent sound without an audio interface. Examples: Blue Yeti, Shure MV7 USB mode.
Tips:
-
Use a pop filter to minimize plosive sounds (“p” and “b” letters).
-
Mount your mic on a boom arm or shock mount to reduce vibrations.
2. Optimize Your Recording Environment
Even the best microphone cannot compensate for poor room acoustics.
Key strategies:
-
Reduce echo: Use foam panels, rugs, heavy curtains, and bookshelves to absorb sound reflections.
-
Eliminate background noise: Turn off fans, air conditioners, or noisy electronics.
-
Choose a quiet location: Avoid areas with traffic noise, pets, or household activity.
Pro tip: Recording in a closet filled with clothes or a small room with acoustic treatment can be surprisingly effective.
3. Control Your Microphone Technique
How you use your microphone significantly impacts audio quality.
Best practices:
-
Maintain a consistent distance from the mic (usually 6–12 inches for dynamic mics).
-
Speak directly into the microphone at a slight angle to reduce plosives.
-
Keep hands and objects away from the mic to prevent accidental bumps or rustling.
Pro tip: Record a test clip to check levels and positioning before starting the full session.
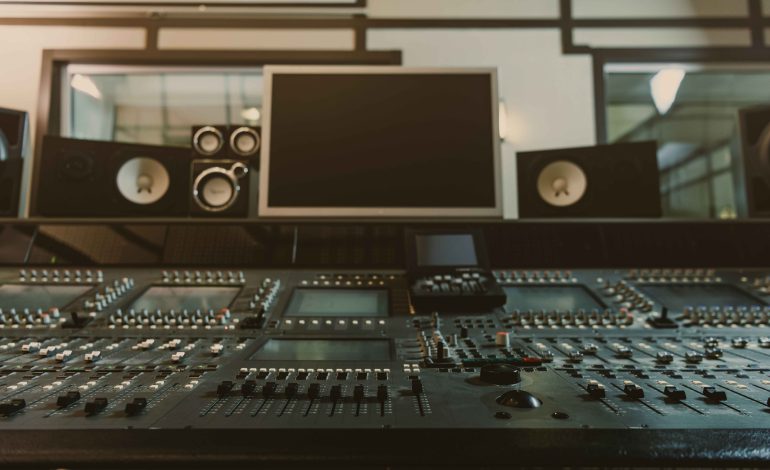
4. Use an Audio Interface or Mixer
If you’re using XLR microphones, an audio interface or mixer is essential for converting analog signals to digital audio.
Benefits:
-
Provides gain control to avoid clipping or low-level recordings.
-
Supplies phantom power for condenser mics.
-
Allows real-time monitoring with headphones.
Recommended interfaces:
-
Focusrite Scarlett 2i2 – beginner-friendly, reliable.
-
Rodecaster Pro II – all-in-one mixer for podcasters.
-
Zoom PodTrak P4 – portable and podcast-specific.
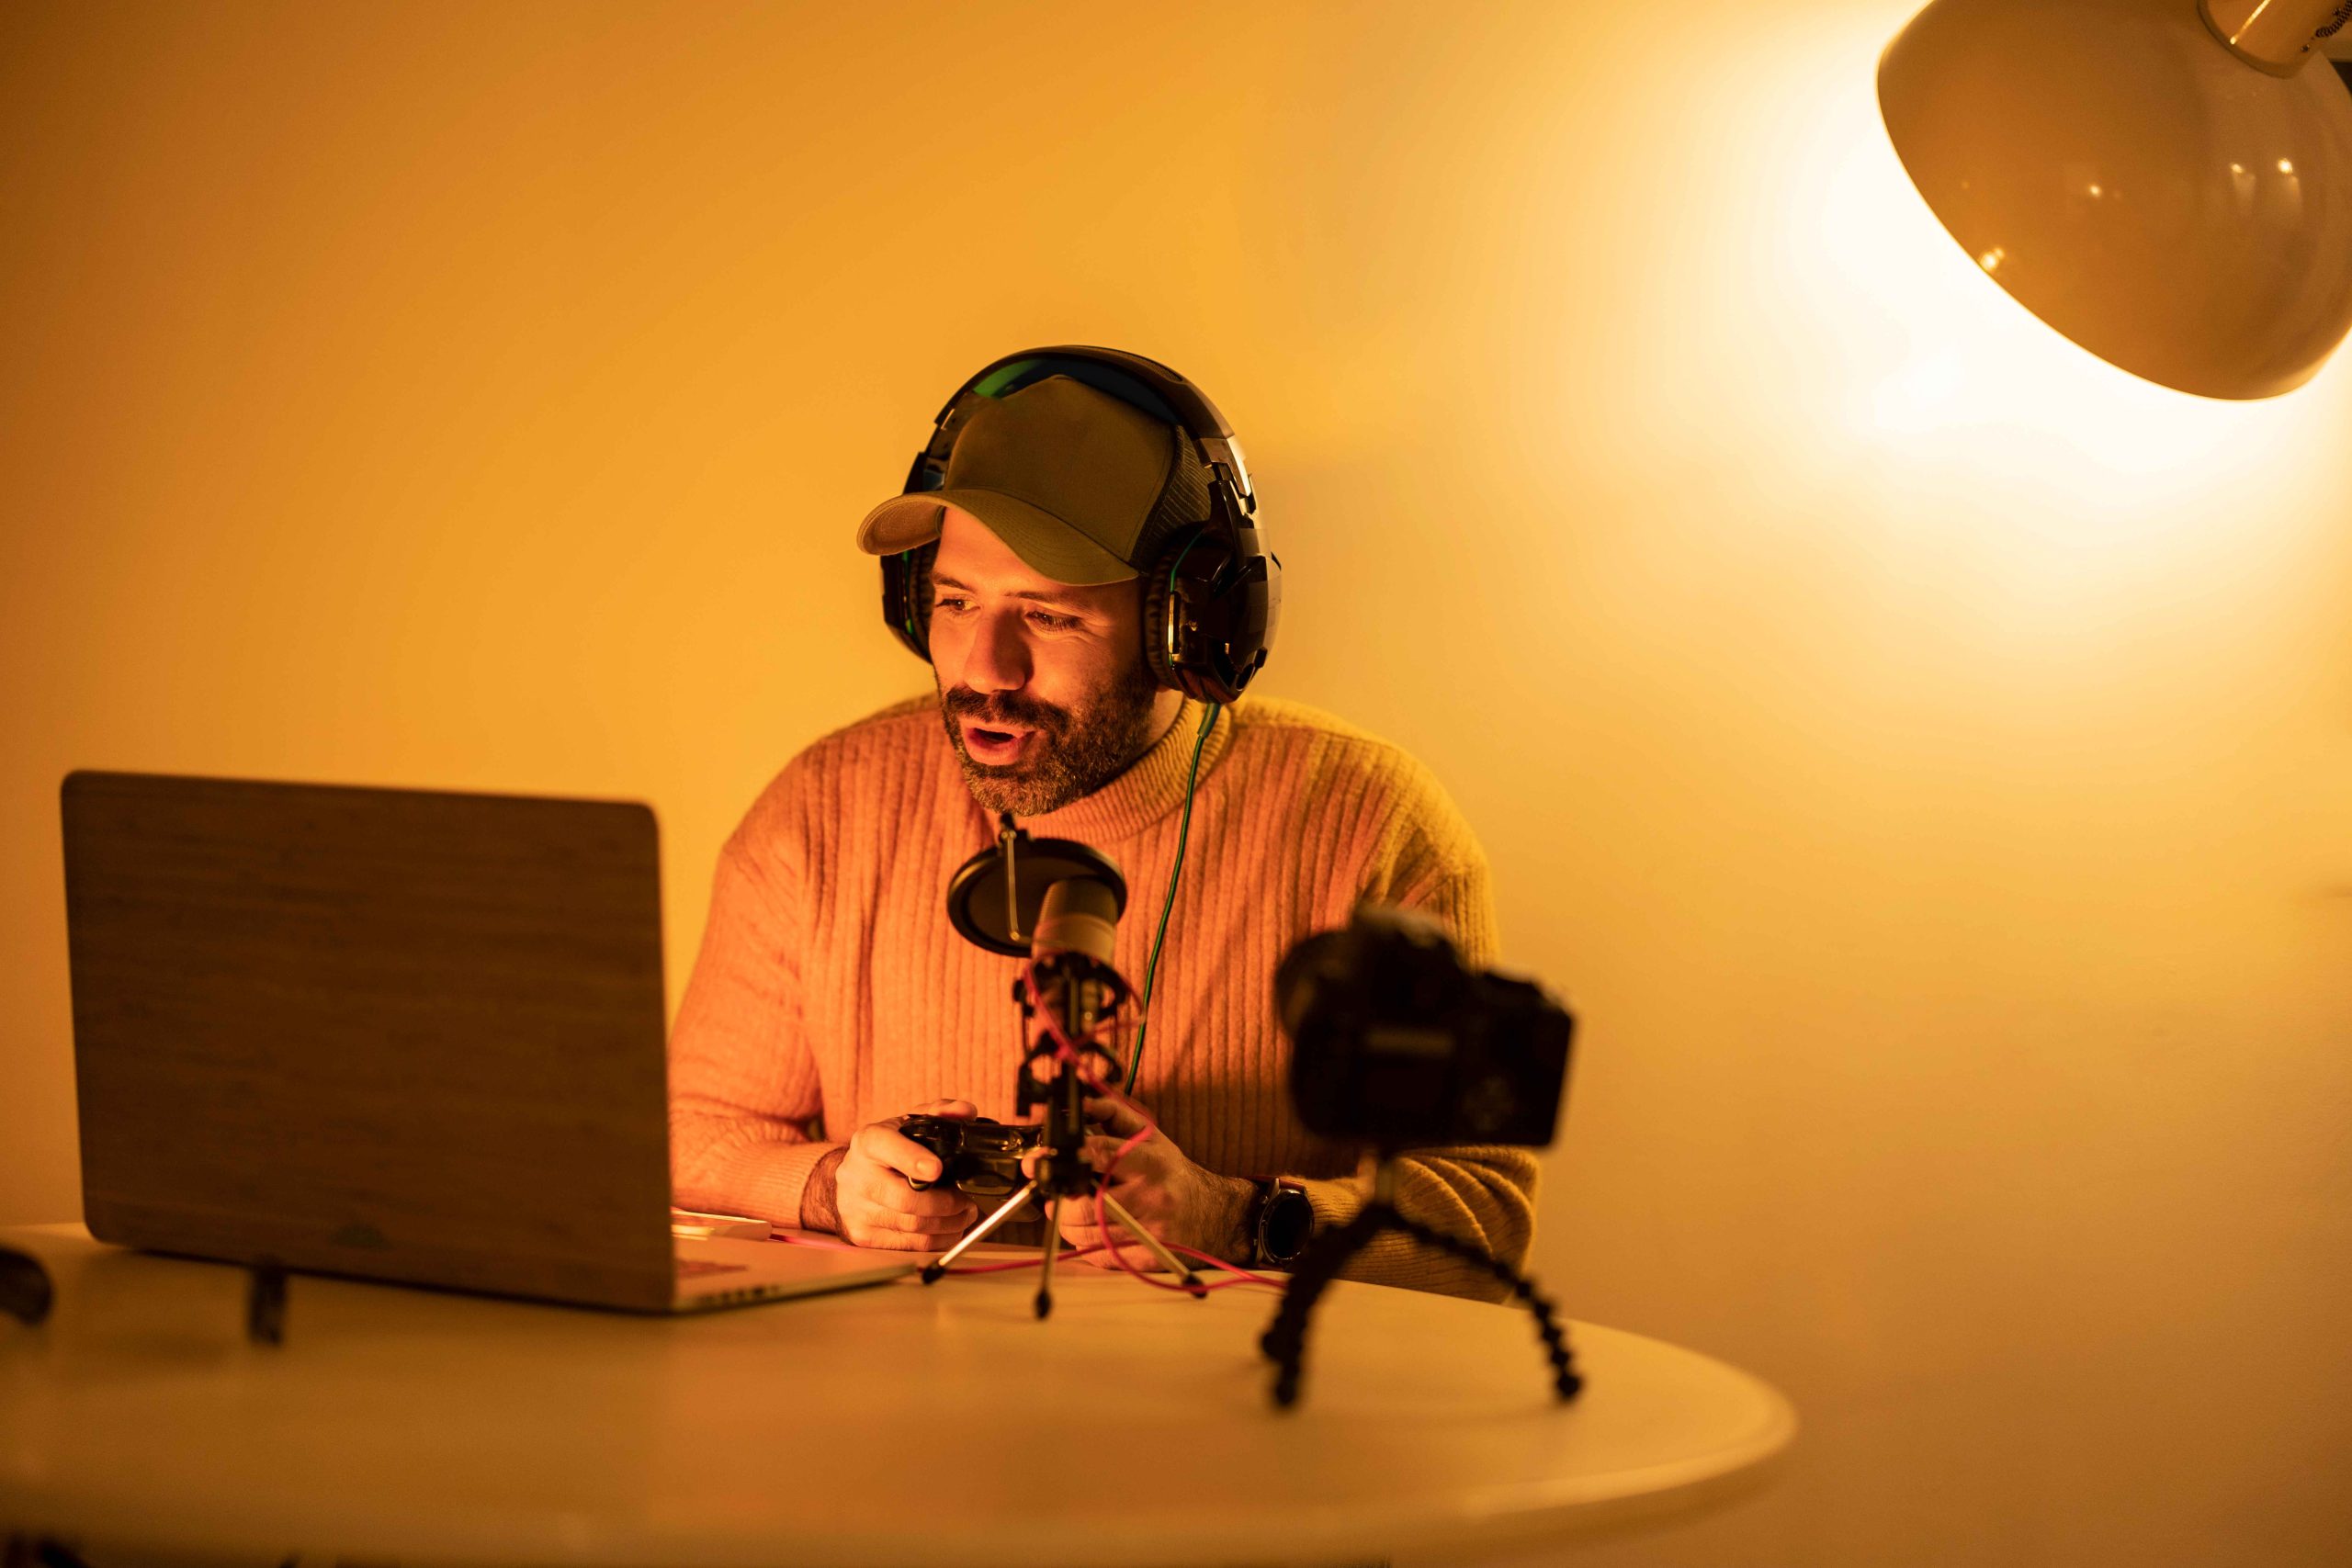
5. Monitor and Record Properly
Monitoring your audio in real-time ensures you catch problems before they become permanent.
-
Use closed-back headphones to prevent audio bleed.
-
Check recording levels to avoid clipping (peaks in the red zone) or too-low volume.
-
Record at high quality (44.1 kHz or 48 kHz, 16-bit or 24-bit) to preserve detail.
Pro tip: Use a backup recording on a separate device or channel in case of technical issues.
6. Minimize Post-Processing Needs
The cleaner your raw recording, the less time you’ll spend editing.
-
Reduce background noise at the source by choosing a quiet space and using directional microphones.
-
Avoid recording too close to reflective surfaces like windows or hard walls.
-
Encourage co-hosts or guests to use proper mic technique.
Software for cleaning audio:
-
Audacity: Free noise reduction and EQ tools.
-
Adobe Audition: Advanced noise reduction, compression, and EQ.
-
Reaper: Lightweight, professional-grade audio editing.
7. Use Compression and EQ Carefully
While post-processing can enhance audio, overdoing it can create unnatural sound.
Compression: Evens out volume differences to maintain consistent audio levels.
EQ (Equalization): Boosts or reduces specific frequency ranges to enhance clarity.
Tip: Apply subtle compression and EQ to avoid sounding overprocessed.
8. Maintain Consistency
Consistency in microphone choice, recording environment, and technique ensures your episodes have a uniform sound, which is crucial for professional branding.
-
Label and save your mic and interface settings for repeatable setups.
-
Record at the same time of day if room conditions vary.
-
Keep a routine for checking equipment and recording environment before every session.
Conclusion
Getting clean audio every time requires a combination of quality equipment, proper setup, room preparation, and recording technique. By investing in the right microphone, optimizing your environment, monitoring levels, and practicing consistent mic technique, you can significantly reduce background noise, echo, and distortion.
Clean audio enhances listener experience, builds credibility, and allows your content to shine. Whether you’re a beginner podcaster recording in a home studio or a professional hosting in a fully equipped studio, applying these strategies ensures your recordings sound polished, clear, and professional every time.